Showing posts with label cherries. Show all posts

Sunday, June 15, 2014

Cherry Ball Cake

This is the cake I made for my father for Father's Day. One of my father's favorite sweet treats of all time are cherry balls that my great aunt makes at Christmastime. So my dad usually only gets to have these once a year, but when he does, my aunt always makes sure he gets a good dose of them. I have made them for my father myself upon occasion, but he still doesn't get them very often because no one else in the house is as big of a fan of them and it's hard to make a small batch, not to mention they are a bit tedious. And they do seem more like a Christmas treat. 

The cherry balls are basically a mixture of coconut and icing sugar flavored with a little vanilla and cream wrapped around a whole maraschino cherry. The balls are then rolled in graham cracker crumbs. Instead of making some cherry balls for my father, I decided to make a cherry ball cake inspired by this sweet treat. I had made cherry ball squares before on the same premises, so why not try a cake? Father's Day does deserve a cake after all.

I began with a basic moist white coconut cake baked in an 8x8 inch square pan. Then I made a coconut brown sugar filling (because my father loves brown sugar) with chopped maraschino cherries. I used green cherries for the filling and red for the topping because that is what I had on hand, but any kind will do as they all taste the same. Red and green would make a nice cake for Christmas. Then I frosted the top of the cake with a sweet cream cheese enriched frosting (just for a little extra flavor burst) and decorated the top with shredded coconut and red cherries. I did not have any graham cracker crumbs on hand, so I just sprinkled a little brown sugar on top, which basically gives the same look but just a sweeter taste. 

Happy Father's Day! :)

Sunday, April 27, 2014

Cherry Burst Smoothie

Cherry Burst Smoothie
frozen cherries
wheat germ
strawberry banana blend juice
almond milk
almond butter

Purée all until smooth, judging amounts as you like to make a thick or thin smoothie with as much fruit flavor as you like. I find a hand immersion blender works best for this - put the ingredients in a bowl to do it then transfer to a glass. I also find it works better if the almond butter is added at the end, after the other ingredients are puréed together so it doesn't stick. 
This is another smoothie recipe that is helping me survive. Smoothies can be made the night before, put in a water bottle, and transported for a quick lunch. Be sure to keep them cold! 

Monday, October 07, 2013

Black Forest Trifle

No, I really never stop talking about Black Forest cakes. After the two miniature versions I made on the weekend, I had some leftovers. So I decided to make a small trifle to use them up. This also gave me the opportunity to have a taste of my creations, even though I couldn't cut into the real cakes.  Because I made one large rectangular cake and cut out six rounds from that, I had some cake scraps. Since the cakes were fairly small, I had some leftover cherry filling - both sweet and sour. I just used the entire carton of whipping cream, so I also had some leftover whipped cream, both spiked and simple sweetened. And I had some leftover chocolaty  already grated, as well. So this is how I assembled the trifle:
The extra cake cut into cubes and placed in a medium-sized glass bowl.
Drizzled with the cherry juice to moisten. (Kirsch may also be used for an extra boost of liquor, but I wanted to use up the rest of the cherry juice).
Both cherry fillings dolloped over.
Whipped cream spread on top with a few rosettes. I spread the spiked cream on half of the trifle, and kept the other half alcohol-free.
Grated chocolate sprinkled on top.
If you have some leftover whole cherries, the can be used to decorate as well. 

Sunday, October 06, 2013

Mini Black Forest Cake - American

Here is the American version of the miniature Black Forest cake I made for Oktoberfest. It's really a smaller version of the one I made last year (see Schwarzwälder Kirschtorte), with some modifications. This cake is very similar to yesterday's cake, with a few changes. Because this is American-style, it does not have a shortbread base spread with jam, and does not have any liquor. It also uses sweet cherries instead of sour, and the juice of the cherries to moisten the cake. Other than that, it is pretty much the same, but here is the step-by-step procedure. 

Cake layer moistened with cherry juice, then spread with sweet cherry filling.
Cake layer moistened with cherry juice, then spread with sweetened whipped cream.
Cake layer moistened with cherry juice, then spread with more cream.
Whipped cream stars piped on top and around the cake.
Cherries and grated chocolate to decorate. 

Saturday, October 05, 2013

Mini Black Forest Cake - German

I know, I talk about Black Forest cakes a lot. You have to admit they are pretty good, and very nice to look at. Besides, it is Oktoberfest time, and Black Forest cake is a traditional German cake. I was asked to make a Black Forest cake for an Oktoberfest fundraiser, just like last year (see Schwarzwälder Kirschtorte ). I couldn't really decide whether I wanted to do a traditional German version, a modern American version, or a version with the best of both worlds. So I finally decided to make two miniature black forest cakes, one German-style and one American-style. This is the German style, and tomorrow I will share the American style. I did make a few slight changes from the traditional German-style I made a few weeks ago (see Original Schwarzwälder Kirschtorte ). 

This version uses a moister, fluffier chocolate cake recipe, not really a sponge cake but a heavier cake that holds the cake well and absorbs some nice cherry flavor. I also used a slightly different shortbread recipe, as I needed to make a smaller shortbread round, though this one is still thicker. I used the same cherry filling, but I boiled it longer to make it softer. I also moistened each cake layer with a little kirsch liquor, for some more flavor and to keep it moist. I didn't bother using cream stiffener in the cream, as I didn't find it made a huge difference and was an extra expense. Other than that, it is basically the same, just a smaller version, but I'll go over the process anyway.
Shortbread base spread with cherry jam.
Cake layer moistened with kirsch, then spread with sour cherry filling.
Cake layer moistened with kirsch, then spread with spiked, sweetened whipped cream.
Cake layer moistened with kirsch, then spread with more cream.
Whipped cream stars piped on top and around the cake.
Cherries and grated chocolate to decorate. 

Wednesday, September 11, 2013

Black Forest Cake Troubleshooting

Keeping with the black forest theme (just for one more day, I promise) I would like to provide some recommended tips based on my experiences, what I had success with, and what I would change for next time. 


Improvement #1 - Loose Cream - I didn't have this problem because I used cream stiffener. I used four packets of this cream stabilizer and beat the cream until stiff, stiff peaks formed.


Improvement #2 - Bleeding Cherries - I found the cherries I used to decorate the cake bled into the cream a bit. I would recommend washing the cherries and blotting them very dry, as well as adding them just before serving. 

Improvement #3 - Dry Cake - I found the cake a little on the dry side, but this could definitely be improved by sprinkling all cake layers with some cherry schnapps, as the cake is a spongecake and that is what it is designed for. For a version with less alcohol, cherry juice could be used instead. 


Improvement #3 - Sweet or Sour Cherries - My only recommendation here is to tailor it to your consumers. Sour cherries may be used in all cases, but you may or may not want to add sugar. Generally sweet cherries should only be used for American versions. 


Improvement #4 - Even Cake Layers - Slicing a cake horizontally can be difficult. Make sure the cake is cooled completely. Slice the top layer first - which should be very thin. Use a long, serrated knife, and rotate the cake while slicing slowly. Then slice the remaining cake in half. 

Improvement #5 - Disappearing Cake - To prevent your cake from disappearing too quickly due to its deliciousness, try hiding it in the back of the fridge in a covered container labelled "Leftover Spinach Sautée". 

Tuesday, September 10, 2013

Black Forest Cake Comparison

Black Forest is a fairly common type of cake, but really there exists two distinct types: the sweeter American version (common in North and South America), and the more traditional German version (common in Germany and Europe). As of Sunday, I have made both types, and I noticed some significant differences. I am personally used to the American version, but I also had the privilege of hearing the opinion of someone who is used to the German version. I can't say I really have an overall preference, as there are many different variations within the two versions, but I may say generally the American version is prettier to look at, but the German version is tastier. Here is a brief comparison. 

The American version typically consists of rich chocolate sponge or similar type cake layers, sweet cherry filling, sweetened whipped cream, and chocolate curls or flakes and maraschino cherries to decorate. The major differences between this version and the German are the cherries used here are very sweet - often maraschino from a jar or a cherry pie filling. The cherries are bright red and thick. The whipped cream is flavored with sugar and vanilla, and perhaps a little cherry juice, but often alcohol is omitted. Chocolate curls are used more often than grated chocolate for a better presentation. There is no shortcrust pastry base. There is no particular order for the layers - sometimes cream and cherries are placed together in layers, sometimes separated with numerous layers of both. 

The German version also consists of a chocolate spongecake layered with sour cherries, and flavored whipped cream. However, it features a shortbread pastry base on the bottom of the cake, spread with cherry jam. The cake is decorated with sour cherries and grated chocolate. The major differences here are the shortcrust bottom, which does not exist in the American version, and the use of sour cherries instead of sweet. Usually bottled sour cherries are used, though these can be difficult to find outside of Europe. Fresh or frozen sour cherries may be substituted, but never sweet red cherries. The cake and cream are often flavored with Kirschwasser or cherry schnapps. Grated chocolate is used to decorate the cake. Typically following the bottom shortcrust layer, a cake layer, a cherry layer, a cake layer, a cream layer, and at least one more cake layer follows. 

The similarities between the two cakes are they both have a similar chocolate spongecake base. They are both composed of layers of cherries and flavored whipped cream. They are both typically adorned with whole cherries, whipped cream rosettes, and chocolate pieces. 

The conclusion? Here is a comparison of the three I have made. My parents preferred the American versions, as they found the cherries in the German version too sour. My boyfriend and his mother (both from Germany) preferred the German version, and she even thought the cherries were not sour enough. Me? As said before, I would take the best from both worlds!


Simple American Black Forest  http://bexysbakingblog.blogspot.ca/2011/09/black-forest-cake.html


German-influenced American Torte 
 http://bexysbakingblog.blogspot.ca/2012/10/schwarzwalder-kirschtorte.html


Traditional German Black Forest  http://bexysbakingblog.blogspot.ca/2013/09/original-schwarzwalder-kirschtorte.html

Monday, September 09, 2013

Kirschwasser Torte

Here is the procedure for the authentic black forest cake I featured yesterday. It seems like a lot of steps and a lot of layers and a lengthy procedure, but it doesn't take too long to assemble once all of the individual components are made. And the process is not difficult at all.

First take the shortcrust pastry:
Spread it with cherry jam:
Add a chocolate spongecake layer:
Drizzle it with cherry schnapps to moisten.
Spread it with sour cherries and the thickened juice:
Add another chocolate spongecake layer.
Spread it with sweetened thick whipped cream flavored with a little cherry schnapps:
Add the final thin chocolate spongecake layer to form a dome over the cake:
Spread with the remaining cream mixture:
Decorate with some more sour cherries and grated chocolate:

Sunday, September 08, 2013

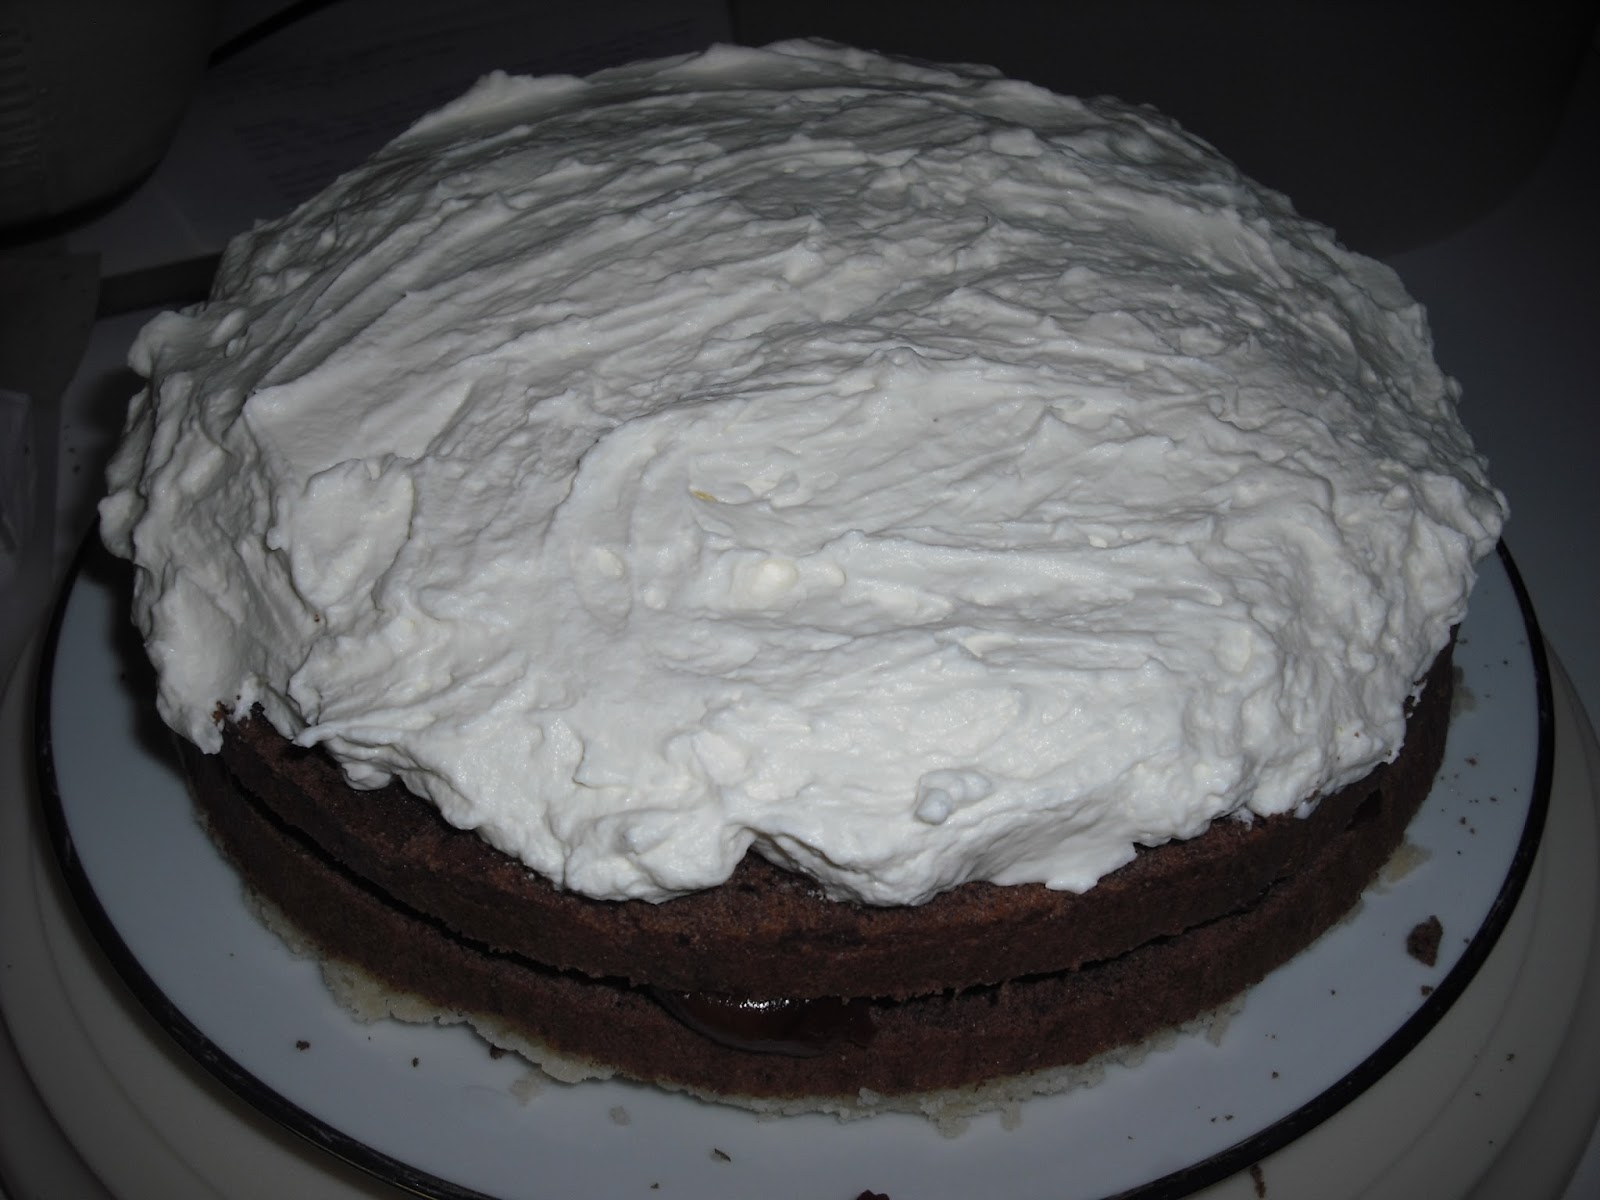
Original Schwarzwälder Kirschtorte

Schwarzwälder Kirschtorte means Black Forest Gâteau. I have made two of these before in my life, but the recipe I used for this one is authentic. I received this recipe from the grandmother of my boyfriend, in a nice little keepsake book. The recipe comes straight from Germany, the location of the Black Forest, and of course the original Black Forest cake. The recipe was written in German, since it is a German recipe and my boyfriend's grandmother lives in Germany. So thank you to my boyfriend and his mother for translating the recipe for me!

I was very excited to try this recipe. Black Forest cake is popular around the time of the German celebration of Oktoberfest, so I decided to try a trial run of the cake before then. My father's birthday seemed like the ideal time to test it, which works out well because it is also close to the birthday of my boyfriend's mother. She definitely deserves some cake for all the trouble she went through in translating the recipe. I wanted to do a trial run because, like many older or authentic recipes, the directions are not completely specific, the availability of ingredients differs between here and Germany, and it is possible some information was lost in translation. So if something does not work out this time, I can try to improve upon it for next time. Also, there were two options for the chocolate cake layers included: a chocolate spongecake and a cocoa biscuit. This time I will be trying the spongecake, as it seems easier with more familiar ingredients, but I certainly may try the biscuit recipe another time! I won't share this recipe - since it was a gift to me and is authentic, but also because the recipe translation can be a bit confusing, and the original is written in German. Tomorrow however, I will share a step-by-step procedure with pictures. 

Tuesday, June 04, 2013

Heavenly Chocolate Cake

Voilà! Here is my birthday cake for 2013! As I said yesterday, my only criteria was an angel food cake with chocolate and fruit. It is based on a simple, but delicious, angel food cake. I have actually never had angel food cake from scratch anyway, so I don't know if this is as good as  scratch cake, but I can say it is a lot better than a store-bought angel food cake. 
I actually wasn't expecting a filling in the middle, but when I sliced into it I found a dark chocolate icing. I know it is probably not easy to slice an angel food cake (or any cake for that matter) evenly in half horizontally, and I really appreciated the extra hidden chocolate treat! The icing all outside the cake is as light as the cake itself; and it has to be light to be able to spread it on such a delicate cake, which my mother did an excellent job of (props to her for even icing in around the center hole). This icing is actually made with fresh whipped cream and instant chocolate pudding mix - which took me a few minutes to place the taste, but it works really well. And the pudding really provides a nice chocolate flavor. So this icing is very light in texture and not too rich to clash with the light cake, but certainly delectable. Of course, the cake is garnished with fresh strawberries and cherries.

I really enjoyed this cake. I am usually vague on my criteria because to be honest, I never really know what kind of cake I want for myself. But I know that my parents will always come up with something delicious that will please me! When I asked my mother what she called this cake, she first responded with "heaven". (Actually, she first responded with "Angel Food Cake With Whipped Pudding Icing and Dark Chocolate Filling" but that title was a bit lengthy for a blog post). Then she dubbed it "Chocolate Heaven" because it is so light, and it is like eating a glad. I concur. This certainly is a heavenly chocolate cake! I couldn't have made it better myself.
Thank you Mom and Dad!

Saturday, May 11, 2013

Cherry Coconut Chews

Cherry Coconut Chews
CRUST
1 cup all-purpose (plain) flour
1 cup rolled oats
1 cup packed brown sugar
1 teaspoon baking powder
1/2 teaspoon salt
1/2 cup butter or hard margarine, cut into cubes
TOPPING
2 large eggs, beaten 
1 cup packed brown sugar
1 teaspoon vanilla extract
1 cup unsweetened shredded coconut
2 tablespoons all-purpose (plain) flour
1 teaspoon baking powder
1/4 teaspoon salt
1 cup maraschino cherries, cut up
CRUST: Preheat oven to 350F.
In a large bowl, mix together the dry crust ingredients. Cut in the butter until crumbly. Press into a 9x13 inch rectangular baking pan. Bake for ten minutes.
TOPPING: In a large bowl, add all ingredients in given order, stir. Spoon over crust. Bake for 25-30 minutes, until set.

You can put a butter frosting (made with cherry juice) on these squares once they are cool if you wish, but they really don't need it. It would also be difficult to do with the texture of the topping, which is quite pretty without being covered by icing. These squares are quick to make; throw all of the crust ingredients in a bowl and mix. While that is baking, throw all of the topping ingredients in a bowl and mix. These are not too sweet, and have a nice texture. 

Sunday, December 23, 2012

Homemade Panettone Gifts

These are the panettones I made from the recipe yesterday. I have them all packaged up and ready to give. I made four smaller loaves, as then one batch goes further than if I had just made it into two loaves, and I can give it to more people. And of course, I keep one for me and my family to taste. Panettone tastes best if it is allowed to age for a little while before tasting, just like a fruit cake. That is why I wrap them so well and package them up as a gift that doesn't really need to be opened. I wrapped each loaf in plastic wrap, then foil, then placed it in a sealed plastic bag, then wrapped it in Christmas paper and tied a ribbon on it. Then I placed a tag on each specifying the day the bread was baked, how long it should ripen, how long it would be good after that, and how to enjoy. The message went something like this: "Should be allowed to age for a week or two before tasting for best flavor. Should be good for at least another week after that. Can be wrapped well and frozen for prolonged storage." I also found some adorable Christmas stickers that say "Baked by....For" or "Goodies by" or "Baked especially for....By" so I stuck one of those on each package too. Panettone is good with a little butter and/or honey, either toasted or not. We tend to eat it for breakfast, but it is good as a snack or a not too sweet dessert as well. 

Saturday, December 22, 2012

Italian Christmas Fruit Bread

This is the recipe for The Italian Christmas Fruit Bread, called Panettone, that I have been making the past few years and giving as gifts. Panettone is also available in stores, and those commercial varieties are actually quite good as well, but of course I had to try making my own, and it turned out very well! I am writing this recipe from memory, so I hope everything in it is correct. I will double check the recipe as soon as I can. 
Panettone
1/3 cup boiling water
1/3 cup white rum
1/2 cup warm milk
1/3 cup butter (salted or not, adjust salt amount accordingly), melted
3 large eggs
1/2 cup granulated (white) sugar
2 cups all-purpose (plain) flour
2 packages active dry yeast (I used instant)
1 teaspoon salt
1 teaspoon vanilla extract
1 teaspoon anise extract (don't leave this out, it is a key flavor in the bread. It can be found with the vanilla and other extracts)
1 teaspoon lemon zest
3 1/2 cups additional all-purpose (plain) flour
3/4 cup raisins
3/4 cup mixed red and green glace cherries (I used slightly more red and green), halved
1/4 cup chopped mixed peel
a little additional flour for coating the fruit
additional butter for brushing the warm loaves

In a large bowl, stir together the water, rum, and milk. Add the butter, then beat in the eggs. Stir in the sugar. Beat in the next six ingredients until smooth. Gradually stir in the remaining flour, until a soft dough forms and begins to pull away from the sides of the bowl. Knead in the fruit. Knead the bread for 6-8 minutes until smooth and elastic. 
Form dough into a ball. Place the dough in a bowl greased with a little oil, and turn once to grease top. Cover tightly with a piece of oiled plastic wrap, then with a damp tea towel. Let rise 1 1/2 hours or until doubled in bulk.
Punch dough down. Divide into either two or four equal pieces. Shape into round loaves and place on a parchment paper lined baking sheet. Cover and let rise for another hour, or until doubled in bulk.
Bake at 350F for 25-30 minutes for small loaves or 35-40 minutes for large loaves.  Immediately brush warm loaves with a little butter. 

Thursday, October 11, 2012

Cherry Chocolate Cream Squares

These are the squares I recently made in order to use up the leftovers I had from the Black Forest Gateau I made. Also, I wanted a little taste of Black Forest myself, since I did not get to try the cake myself. I came up with this recipe myself. Actually, it isn't much of a recipe, I simply baked a chocolate base I recently made for another recipe, and topped it with cherries and cream. The base is very fudgey and rich, so I knew I couldn't go wrong! I like the combination of chocolate, cherries, and cream.
Cherry Chocolate Cream Squares
1/4 cup + 1 Tablespoon hard margarine or butter, melted
3 Tablespoons unsweetened cocoa powder
1 large egg
1 teaspoon vanilla extract
1/2 cup granulated (white) sugar
1/3 cup all-purpose (plain) flour
pinch salt
the thickening goo from a can of cherry pie filling (with no actual cherries in it)
1/2 cup sweetened whipped cream
chocolate flakes, if desired

Preheat oven to 400F. Line an 8x8 inch square baking pan with foil and lightly grease foil.
In a medium mixing bowl, mix the butter and cocoa until smooth. Add remaining ingredients, mix well. Spread evenly in prepared pan. Bake for ten minutes.Cool completely.
Once the base has cooled, spread evenly with the cherry pie filling, then the whipped cream. The whipped cream can also be piped on in stars or other designs if you prefer. Top with chocolate flakes as desired.

Sunday, October 07, 2012

Black Forest Gateau

Ingredients:
Three chocolate genoise cake layers (see October 5th post)

CHERRIES
1 can cherry pie filling
1 jar maraschino cherries with juice

WHIPPED CREAM FILLING
2 cups cold whipping cream (35%)
1/4 cup granulated (white) sugar
1 teaspoon vanilla extract

CHOCOLATE FLAKES
4 Tablespoons granulated (white) sugar
2 Tablespoons water
1/2 cup semi-sweet chocolate chips

CHERRIES: Drain the cherry pie filling by scooping out the excess cherry "goop" and leaving primarily the actual cherries.
Drain the jar of maraschino cherries, reserving the juice. Pat the cherries dry.

WHIPPED CREAM FILLING: In a large bowl, beat the cream until soft peaks form. Gradually beat in the sugar until stiff peaks form. Beat in the vanilla.

CHOCOLATE FLAKES: In a small saucepan, heat the sugar and water to a boil. Remove from heat and quickly stir in chocolate chips until smooth. Use immediately. Spread out in a thin layer on a parchment lined baking sheet. Let stand for at least an hour until hardened. Break into flakes. Note: I did this in two separate batches, because I doubled the recipe, but didn't know if it would work well if I made the batches together.
  1. Place one cake layer on a flat surface. 
  2. Moisten it by brushing it with a third of the juice from the jar of cherries. Using a pastry bag without a tip, pipe a circle of whipped cream around the rim of the cake. Fill the center with whipped cream, making it the same height as the circle you piped. Smooth it out using a small offset spatula. Spoon half of the cherry pie filling on top, leaving a half inch border all around. 
  3. Gently center another cake layer on top and repeat above procedure. 
  4. Repeat with third layer, but do not top with cherry pie filling (as you will have none left anyway).
  5. Fit the pastry bag with an open star tip and pipe 24 rosettes around the top of the cake. Top every second rosette with a maraschino cherry.
  6. Pipe a shell border along the bottom of the cake.
  7. Fill the top middle of the cake with chocolate flakes. Pile them on, and carefully arrange a few of the bigger flakes on top.
  8. Fix up any edges of the cake by smoothing out the whipped cream, scraping excess cream off, etc.
This is a very special recipe, so take note! This cake sold for $60!

Saturday, October 06, 2012

Schwarzwälder Kirschtorte

Here is the Schwarzwälder Kirschtorte, or Black Forest Gateau, I finished today. I was asked to make this for a silent auction taking place at an Oktoberfest celebration fundraiser. Oktoberfest is a sixteen day festival that originated in Germany to celebrate beer. Germany still holds huge Oktoberfest celebrations, but many other German communities in different countries also celebrate Oktoberfest on a smaller scale. I was asked in particular to make a Black Forest Cake because Black Forest Cake originated in Germany, named so because the liquor that is traditionally used in the cake originated in the Black Forest region. My cake does not contain any liquor. There are many variations of Black Forest Cakes, and I came across many different decorating techniques, which made it difficult for me to decide on one. I combined several different ideas I saw, and this is what I came up with.

This cake is composed of three chocolate genoise layers moistened with cherry juice (instead of kirsch liquor). The layers are topped with sweetened whipped cream and cherry pie filling. I finished the top off with chocolate flakes, whipped cream rosettes, and maraschino cherries. I added a shell border at the bottom. I decided to leave the cake layers open, and not frost them entirely with whipped cream, even though this is not typical. I did this for several reasons: I did not have enough whipped cream, I liked how the cherry and whipped cream layers showed through, the layers turned out nice and neat, I did not want to do more harm than good, I did not have enough chocolate flakes to cover the sides of the cake, as is typical.

Tomorrow I will share the exact step-by-step directions on how to duplicate the version of this cake that I made. The cake is being auctioned off tonight, and I am very curious to see how much it will go for! I liked how the cake turned out so much, I featured it as my new profile picture.

Tuesday, December 20, 2011

Panettone

Panettone is an Italian Christmas fruit bread. It is very popular around Christmas time, and many grocery stores sell commercial varieties of it starting in November. It isn't hard to find. Every brand of panettone is slightly different, but usually panettone is flavored with citrus fruits and anise. Anise, commonly found in the form of star anise or anise extract, is an herb with a flavor very similar to licorice. It adds the characteristic flavor to panettone. Panettone also contains a plentiful amount of dried fruit; usually raisins, cherries, and mixed peel. Some varieties of panettone also contain pine nuts. 
Traditionally panettone is baked in a special pan to give it a unique shape. For home cooks though, panettone is normally just shaped into a round by hand and baked free-form on a baking sheet. The dough is very soft and smooth and easy to work with. This bread is quite rich, as it contains butter, eggs, and milk. Some types also contain a little liquor for added flavor. The recipe I used yields two large loaves, but this year I decided to make them into four smaller loaves to give as gifts. You can also buy large loaves, or small individual-sized loaves, more like panettone muffins.  
Panettone is one of those foods that gets better with age. When well wrapped and stored in a cool, dry place, homemade panettone can keep for at least a month, and really should not even be tasted before two weeks of aging. It can also be frozen for prolonged storage. Store-bought panettone contains many more preservatives, and some will last for up to a year. Panettone is great eaten for breakfast with a little butter or honey, or even nothing at all. It goes great with tea and coffee. It is also delicious toasted. I highly recommend that you try some panettone this year. I don't say this often, but the store bought varieties are perfectly acceptable if you are still a little leery about making some yourself.

Tuesday, September 13, 2011

Black Forest Cake


I haven't baked in a while, so I am going to tell you about something I made awhile ago. This is a Black Forest Cake that I made last September for my father's birthday. I am quite proud of this cake, as you can see I am featuring it as my profile picture. This was before I got into cake decorating with buttercream, and piping borders, and flowers.

This cake simply starts with my favourite chocolate cake recipe that I always talk about. I poured the cake batter into three round cake pans: two eight inch and one nine inch. I used one slightly larger pan so I could have a bigger base, which showcased the cherry filling. The filling is simply real whipping cream, cherries, sugar, vanilla, etc. I iced the top with my favourite rich chocolate frosting, and finished the cake off with some whipped cream dollops and whole cherries. Simple, classic, old-school and quite a hit!