Showing posts with label candy. Show all posts

Wednesday, May 04, 2016

Chocolate Granola Berry Tart

Step #1: Leftover chocolate granola + chocolate hazelnut spread (from the bottom of the jar) + oil
Combine until it is somewhat sticky and press into a pizza pan lined with plastic wrap. Chill until firm.
Step #2: Frozen mixed berries + bittersweet chocolate
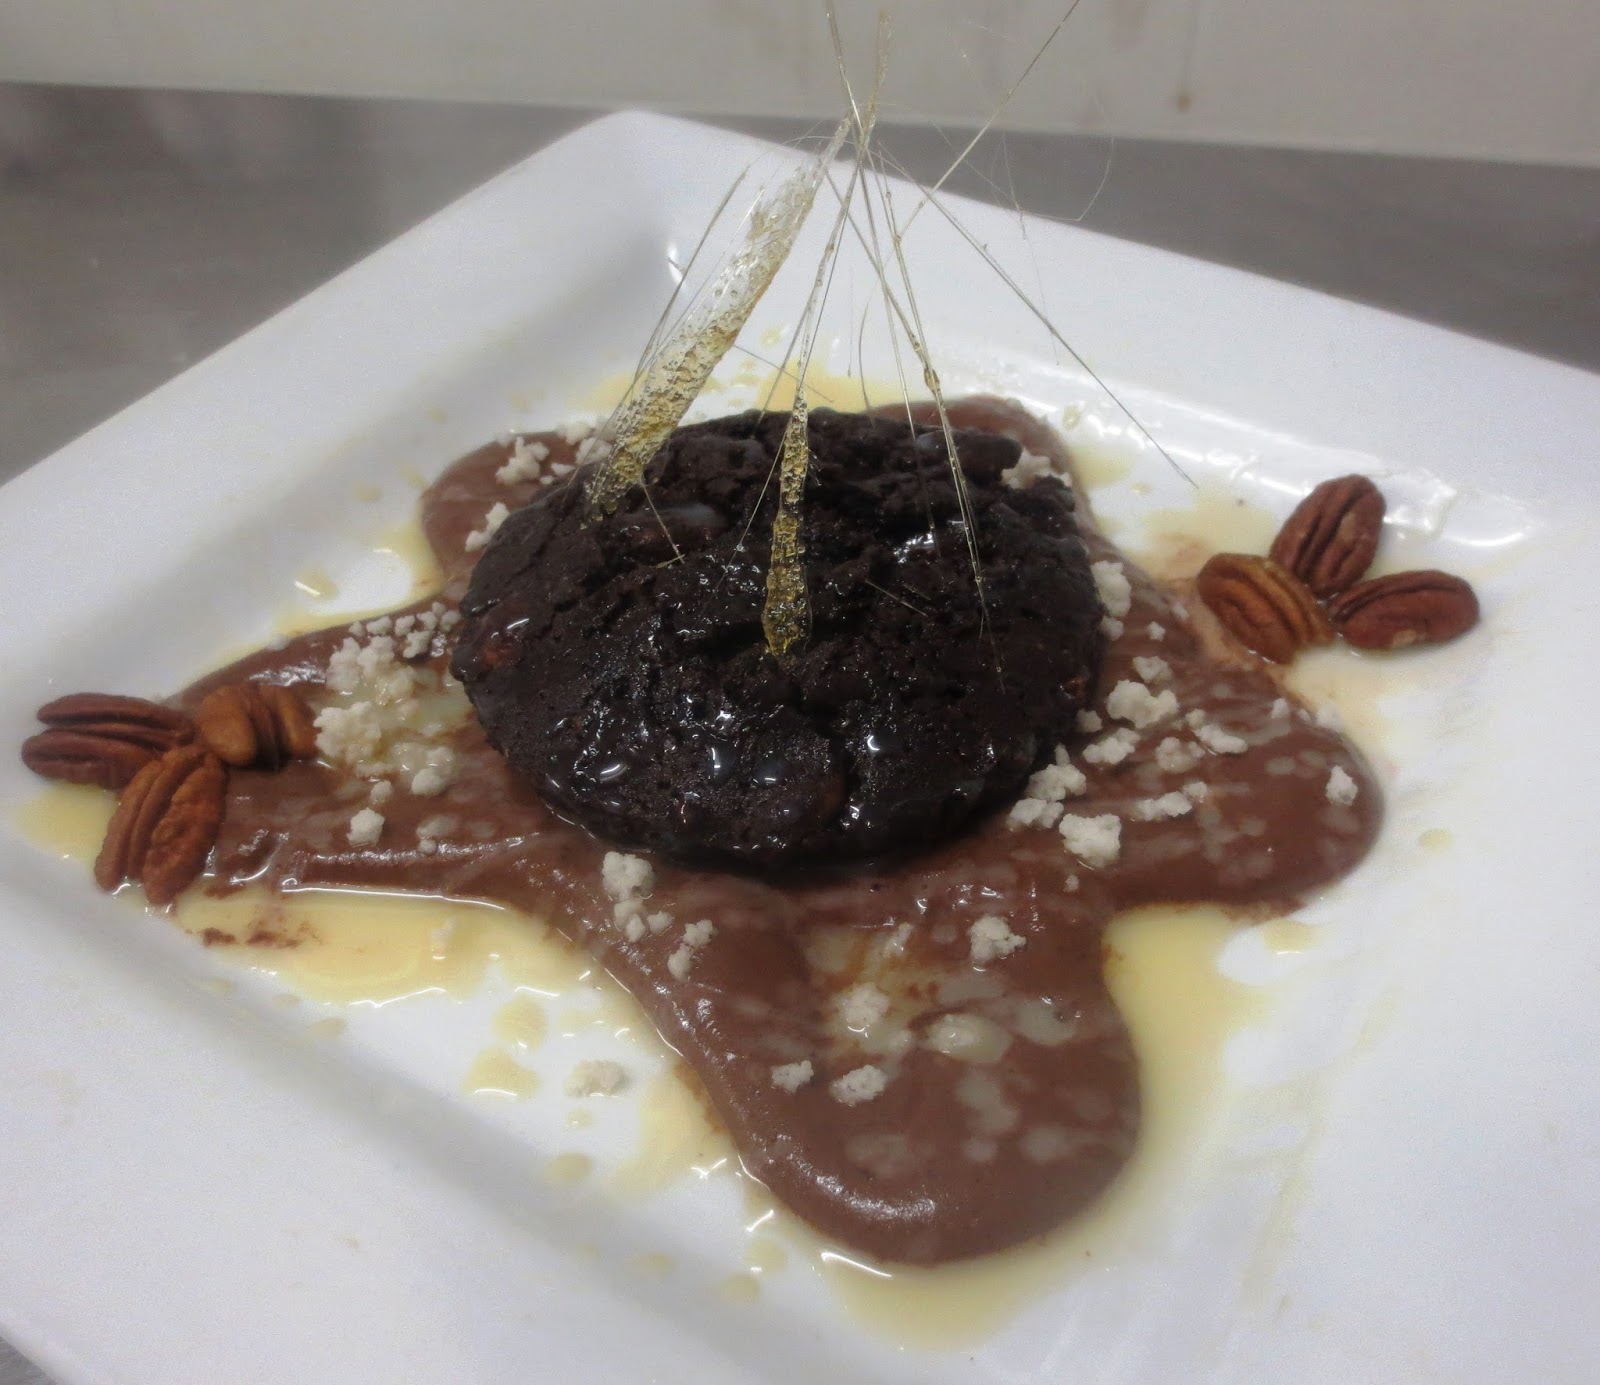
Defrost a bowlful of frozen mixed berries (strawberries, raspberries, blackberries, blueberries) until they are soft and have released liquid. Stir in a few chunks of bittersweet chocolate and stir until melted, smooth, and mixture is slightly thickened. Spread over base, leave an edge, is desired.
Step #3: Leftover brittle
Find some leftover nut brittle (pistachio and candied ginger), crush it, and sprinkle it on top.
Serve now or chill until firm!
Here is how to make a really easy, yet really tasty and chocolaty dessert using only leftovers scrounged up from around the house and only one bowl! No expensive ingredients, and no big kitchen clean-ups required!!

Friday, October 23, 2015

Tamarind Balls

Tamarind Balls
tamarid paste (no seeds)
granulated (white) sugar
macadamia nuts

Knead as much sugar into the tamarind paste as needed until consistency is thick and no more sugar can be kneaded in, it should taste slightly sweet but still sour and tamarind-flavored. Roll into balls, placing a macadamia nut in the center and on top, if desired.

Tamarind is a sticky, sour-flavored fruit with a unique taste. It is kind of reminiscent of dates, but not as sweet. It is often seen in Asian recipes.

Wednesday, October 07, 2015

Maple Pecan Brownie Bomb

Maple Pecan Brownie
1/4 cup unsalted butter
scant 1/4 cup dark cocoa powder
1 large egg
1/3 cup maple syrup
1/2 cup all-purpose flour
1/4 cup chopped pecans
1 Tablespoon maple syrup

Spiced Dark Chocolate Mousse
85 grams dark chocolate chips
1 Tablespoon dark cocoa powder
37 grams unsalted butter
3 large eggs, separated
37 grams granulated (white) sugar
2 teaspoons chocolate chili powder

Caramel Crunch Candy
1/4 cup granulated (white) sugar
1/4 cup water

Caramel Web
2 Tablespoons granulated (white) sugar

White Chocolate Maple Ganache
1/4 cup white chocolate chips
scant 1/4 cup whipping cream
1 Tablespoon maple syrup

Begin with the BROWNIE. Preheat oven to 350F. Grease two small (four inch) fluted tart pan or similar mold.
Melt the butter and cocoa over low heat. Beat the egg, then beat in the maple syrup. Whisk in the cocoa mixture, then the flour and nuts. Spoon batter into prepared pans. Bake for 15 minutes, cool slightly, unmold, then poke lightly with the tines of a fork. Pour a little extra maple syrup over top and allow the brownies to absorb it. Cool completely.

Move on to the MOUSSE. Melt the chocolate, cocoa, and butter in a bowl over a pan of just simmering water. Meanwhile, whisk the egg whites until soft peaks form, then whisk in the sugar until stiff peaks form. Gently whisk in the egg yolks. Mix the chili into the chocolate mixture, then whisk this into the eggs. Chill until set, or chill in the freezer to speed up the process.

Next make up the CARAMEL CRUNCH CANDY. Put the sugar and water into a small saucepan over low heat until mixture hardens. Stir it to form separate chunks, then set it aside to cool slightly.

For the CARAMEL WEB heat the sugar over very low heat until it is melted and golden. Set aside to cool slightly until barely cool enough to handle. Once cool, pull off long, thing strands. 

Meanwhile, make the WHITE CHOCOLATE MAPLE GANACHE by heating the chocolate and cream in a bowl over a pot of barely simmering water until melted and smooth. Stir in the maple syrup, then set aside to cool and thicken slightly.

To assemble: Spread some chocolate mousse on a plate in the shape of a star. Place the brownie in the center. Drizzle the entire plate with the ganache. Garnish with the candy. Place the caramel web strands on top of the brownie to form a nest. Garnish with additional pecans if desired.

Tuesday, April 07, 2015

Coconut Cream Easter Nests

Here are some little Easter basket desserts I made. I have often seen ideas for Easter basket cupcakes, but I didn't want cupcakes. Then I thought of coconut cream pies, since coconut seems to be a popular flavor around Easter time as well. They turned out very nicely. Miniature cheesecakes would work well with this idea too.
Coconut Cream Easter Nests
1 cup granulated (white) sugar
3 Tablespoons all-purpose (plain) flour
pinch salt
3 cups milk (use coconut for more coconut flavor)
3 large eggs, beaten
1 1/2 cups shredded coconut
1 Tablespoon coconut oil
1 teaspoon coconut or vanilla extract

In a medium saucepan, whisk together the sugar, flour, and salt. Slowly whisk in the milk, then bring the mixture almost to a boil, then reduce heat and simmer for two minutes until thickened. Add a few spoonfuls of this hot mixture to the eggs to temper them, then slowly whisk the eggs into the mixture. Return to heat, and bring just about to a boil, then simmer for two minutes more. Remove from heat, then stir in the coconut, oil, and extract.

This can now be used as a regular coconut cream pie filling - poured into a baked shell, covered with plastic wrap, and chilled until firm.
It may be baked as a crustless coconut cream pie - pour into a greased pie dish and bake at 325F for about 30 minutes until a knife inserted in the center comes out clean.

I divided my pie filling mixture among twelve paper-lined muffin cups with an unbaked chocolate crumb crust on the bottom. I sprinkled a little extra coconut on top. Then I baked them for about 20 minutes until set.

To make Easter baskets: Cool the miniature pies, then peel off the paper linings. Place a few jelly beans, candy eggs, or chocolate eggs in the center of each. I used dried fruit to look like eggs. Pipe some melted chocolate onto parchment paper to resemble basket handles, then stick into the pies once hardened. Use white chocolate to make a few bunnies as well.

Friday, April 03, 2015

Easter Bunny Cupcakes

Here is a quick batch of Easter cupcakes I made the other day. They are a simple spice cupcake base with cream cheese frosting. I colored half of the frosting a bright yellow, and half of the frosting purple. Then I carefully spooned the two different icings on opposite sides of a large piping bag fitted with an open star tip. This creates swirls of icing with both colors. Depending on how evenly this is done, you could end up with one color slightly dominating the other, but that is perfectly okay. Here yellow seems a bit more prominent but it was also the darker color in the mix. After piping a swirl on each cupcake, I garnished them with some Easter bunny candies I found in various spring colors. I tend to make an Easter cake with a different flavor and design each year, so that will be coming soon. This is just a little sweet treat to bring on some Easter spirit. 

Sunday, March 29, 2015

Easter Nest Macaroons

Coconut Macaroons
4 large egg whites
pinch salt
1 1/2 cups granulated (white) sugar
2 cups shredded coconut
candy Easter eggs, jelly beans, etc.

Preheat oven to 325F. Line cookie sheets with parchment paper.
In a large bowl, beat the egg whites and salt until soft peaks form.
Gradually add the sugar, beating to stiff peaks.
Fold in the coconut. 
Spoon tablespoons a few inches apart on prepared cookies sheets.
Bake for 15 minutes until just firm and golden.
Immediately press candies in the center as desired, then allow to cool before removing from cookie sheet.

This is a cute and really easy cookie recipe that resembles little Easter nests, depending on the type of candy you use. You could leave the centers plain, or press any type of candy, chocolate, fruit, or nut in the center to suit every occasion. Macaroons have a pleasantly crisp and chewy light texture. 

Monday, March 16, 2015

Cinnamon Crack

Cinnamon Crack
1 cup granulated (white) sugar
2 Tablespoons ground cinnamon
1/4 cup butter, melted

In a small bowl, mix together the sugar and cinnamon. Drizzle in the butter and mix. Spread mixture onto a parchment-lined baking sheet. Bake at 425F for 10-15 minutes until hardened and crisp. Cool, and break into pieces. 

If you are a fan of cinnamon rolls, you will love this. If you are like me, and much prefer the filling of the cinnamon roll to the dough, loving the very center piece and hating 'doughy' cinnamon rolls that do not have a satisfying dough to filling ratio, you will particularly love this. It tastes just like cinnamon roll filling. Essentially, it is just cinnamon roll filling. I 'invented' this candy recipe when I made cinnamon scrolls (see yesterday's post) that were overfilled, and the filling oozed out. Don't worry, I revised the cinnamon scroll recipe, so that shouldn't happen again - though it wasn't a bad thing. I just ended up with a small batch of cinnamon candy as well!

Saturday, June 28, 2014

Graduation Hat Cupcakes

Since it is still graduation season, I decided to share another graduation treat I actually made five years ago for my brother when he graduated. At the time I was really only just beginning to really get interested in the culinary world. Since then, my creativity, skills, and photography have vastly improved. 

I found this idea for graduation hat cupcakes online. It is a similar idea to the brownie graduation hats I made this year and last year. First I baked a batch of vanilla cupcakes, removed the paper liners, and turned them upside-down. Next, I coated graham crackers with melted chocolate and allowed them to harden. You really only see one side of the cracker, so it's not necessary to coat both sides, but you can if you'd like. Next I placed the graham cracker on top of the hat with a tassel fashioned from fruit leather strips (in this case I think it's artificial flavoring since the tassels are blue) and attached it with a blue candy coated chocolate. I cannot remember if I needed to use a little extra melted chocolate or some frosting to ensure the cracker and tassel remained attached to the cupcake or not, but it would not hurt. It would also add a little more sweetness, since cupcakes are meant for frosting, and without it these are a tad bit dry, especially after a few days. Don't refrigerate them unless it is really hot (do if the tassels begin to melt like these did) to prevent them from drying out further.

Again, these cupcakes can be color-coordinated to match school colors. If you are using a white cake batter, a little food coloring may even be added to color the cupcakes, though I don't really like the idea of dyed cupcakes. I think they look better in natural colors. You could however, use a chocolate cake batter, and that way the graham cracker would match. If you can purchase chocolate covered graham crackers already, use those as this saves time. Alternatively, you could coat the graham crackers with frosting or fondant, and that way they may again be any color you wish and can match school colors. And of course candy-coated chocolate pieces and fruit roll-up strips are easily found in a variety of different colors.

Wednesday, June 25, 2014

Bite-Sized Grad Caps

These have got to be one of the cutest graduation related desserts there are around. That's why I just had to make (and feature) them again. I did feature these last year (see {Brownie Graduation Caps}), and this year I basically did the exact same thing. However, on two of the plates I did use many different color candies for the tops instead of just matching colors, and even if they do not match school colors I think they are quite attractive-looking. I also placed some of the caps in celebratory graduation paper muffin liners so they are easier for guests to pick up and eat. I had some decorative graduation toothpicks on hand to stick in the center of the plates with a little bit of extra candy clay as well. Since there isn't really any baking required to make these, there is little prep work and the assembly is quick once the tedious work of forming tassels is complete. Of course it always helps to have an assembly line set up - thanks to my parents for helping out! These are the perfect individual-sized, chocolaty but not messy desserts for parties.

Congratulations to all graduates of 2014! 

Wednesday, May 21, 2014

Ultimate M&M Cookies

This shows some of the giant M&M cookies which I overbaked. It takes some experimenting to discover the perfect timing, so even though the cookies may not look quite done, they will firm up upon cooling. There was absolutely nothing wrong with these cookies though - if you happen to like really crispy cookies, then go ahead and bake them longer. However, most jumbo cookies are known to be soft and chewy, so they are usually slightly underbaked.
Here are some perfectly baked jumbo M&M cookies. To dress them up even more, I decided to decorate them. I just made a quick batch of buttercream frosting and used red and green colors. Then I piped on each cookie, and since the cookies were large, they made the perfect canvas for some decoration. The piping, along with the specks of candy-coated chocoaltes, make these cookies quite colorful. I made these cookies as a gift for someone, so I decorated them with items to represent that person. 

Tuesday, May 20, 2014

Miniature M&M Cookies

If yesterday's giant M&M cookies - soft, chewy and delicious - are not quite your cup of tea, try these miniature M&M cookies. Yes, it basically is the same recipe just a different technique. For these cookies, use only a teaspoon of dough. Bake them for only about 10-12 minutes. These cookies can be baked longer if you would like to make them crisp cookies. This batch will also make a lot more cookies and you can fit many more on a cookie sheet to bake. Also, it is not necessary to let them cool on a cookie sheet first before transferring them to cool, so go ahead and dive in right away! 

Monday, May 19, 2014

Jumbo M&M Cookies

Giant M&M Cookies
1 1/2 cups butter or hard margarine, softened
1 1/3 cups granulated (white) sugar
1 1/3 cups packed light brown sugar
3 large eggs
1 Tablespoon vanilla extract
2 1/2 teaspoons baking soda
1/2 teaspoon salt
4 cups all-purpose (plain) flour
2 cups candy coated chocolates 

Preheat oven to 350F. Line cookie sheets with parchment paper.
In a large bowl, beat the butter and sugars until light and fluffy. Add the eggs, then beat in the vanilla.
Stir in the baking soda and salt, then gradually add the flour. Stir in the candy, batter will be stiff.

Drop by 1/4 cup balls of dough onto prepared cookie sheets and flatten slightly. Bake for about 14-17 minutes until just set and not doughy, but not brown and overbaked. Let cool on the cookies sheet for a few minutes before transferring to cool. Makes about 15 cookies.

Thursday, April 24, 2014

Quick Marzipan

Quick Marzipan
1/2 cup + 2 Tablespoons whole almonds
1/4 cup icing sugar
pinch salt
3 Tablespoons corn syrup (use white for a whiter color)
1 teaspoon vanilla or almond extract (use clear vanilla for a whiter color)

Pulse the almonds, sugar, and salt in a food processor until finely ground and almonds begin to release their oils. Add the corn syrup and vanilla in a steady stream while the food processor is running. Process until mixture begins to clump together. Transfer to a bowl, and add water, a few drops at a time, as necessary until mixture can mold together, but is not sticky. 
Marzipan can be stored well wrapped at room-temperature or in the fridge or freezer, but is easiest to mold when fresh. Shape into desired forms. If you would like to coat the marzipan in chocolate or a candy coating, place it in the freezer first so it becomes really firm. Marzipan keeps well, especially when refrigerated or frozen. 

This is what I used to make my chocolate-covered Easter marzipan shapes from the other day's post. 

Saturday, April 19, 2014

Chocolate-Covered Easter Marzipan

I wanted to make some kind of Easter treat this year, but I didn't just want to make a chocolate bunny. So I decided to make some homemade marzipan, and sculpt it into an Easter bunny, then coat it in chocolate. It was fairly easy to do - marzipan is not as hard to make as you may think. Then simply melt some chocolate, and grab some candy or sprinkles if you like for extra decoration. I ended up having enough marzipan to make a chick, nest, and a few Easter eggs as well. Pictured here on the left is a bunny with blue eyes and red sprinkles, a nest with some candy eggs, a chick, and some small pieces of marzipan coated in chocolate then sprinkles as Easter eggs. I used a pastry brush to paint on the chocolate, and used the tines of a fork to make feather designs in the chick. It was all fairly quick and easy to do, and makes a different kind of tasty Easter candy. Now that I know how to make marzipan, I will be able to use it to make other chocolates, icings, and candies. You may see my master marzipan recipe on here soon. 

Wednesday, February 12, 2014

Kiss Me Chocolate Cookies

Valentine's Day is coming up - so what better way to show your sweetheart you love them than triple chocolate cookies with a kiss in the middle? These are what my mother made to show her compassion around this time of year, though my father and I tried to convince her these cookies were awful, and she shouldn't share them but instead give them all to us. It didn't work. She saw past our fibbing faces and tasted the chocolaty goodness of these easy-to-make, delightful-to-taste cookies. 
Kiss Me Chocolate Cookies
1/2 cup butter or hard margarine, softened
3/4 cup granulated (white) sugar
3/4 cup packed light brown sugar
1 teaspoon vanilla extract
2 large eggs
1 Tablespoon milk
1/3 cup unsweetened cocoa powder
1 teaspoon baking soda
1/2 teaspoon salt
2 1/4 cups all-purpose (plain) flour
1 cup semi-sweet chocolate chips
miniature chocolate kisses (approximately 48)

Preheat oven to 350F.
In a large bowl, cream together the butter, Beat in eggs and milk.
Stir in cocoa, baking soda, and salt, then gradually stir in flour until well blended. Stir in chocolate chips. 
Roll dough into one inch balls. Place a few inches apart on prepared cookie sheets.
Bake for about ten minutes until set. Immediately press a kiss in the middle of each cookie and allow to cool.

Tuesday, January 21, 2014

Horse Cupcakes

This is the creation I made with the six extra cupcakes that were made with the batter from my dark chocolate cake featured in yesterday's post. I covered the cupcakes in the same chocolate ganache used in my Luigi cake. Then I thought of decorating ideas. It was nearing the birthday of one of my friends, and I know she really likes horses. That reminded me of the idea for decorating horse cupcakes I had seen in my cupcake decorating cookbook. They were absolutely adorable, and the three-dimensional horse idea really seems much cuter, more elaborate, special, and realistic than simply piping a horse face or body onto a cupcake. The only problem was, I did not have the necessary ingredients required for this design. I needed a chocolate wafer cookie coated in chocolate melting wafers for the neck, a peanut cookie for the head, and a pretzel piece for the tail, none of which I had. That's when I got creative and began to improvise. Searching the cupboards, I found materials that would serve as suitable stand-ins for the missing ingredients. I used half of a miniature Kit-Kat bar for the neck, and attached a Hershey's chocolate kiss to this using some chocolate buttercream. I used the top, curved part of a miniature candy cane for the tail. To complete the cupcakes, I piped on some eyes and a mane using chocolate buttercream and a grass tip. To three of the six horses, I added cutie marks, which are simple little symbols placed near the horses tail, that are sometimes seen on ponies. They may not look quite as polished as the original idea, but I do think they are quite cute and definitely look like horses. 

Thursday, December 12, 2013

Christmas Chocolate Truffles

These are some truffles I made and decorated with a Christmas theme, since it is getting close to Christmastime. I call them double trouble chocolate truffles because they contain two additions of chocolate - chocolate chips and cocoa. They are certainly very rich and a chocoholic's dream, especially if coated with a chocolate coating. The chocolate chips could be altered - milk chocolate chips for a milder truffle and dark chocolate chips for a dark chocolate truffle. 

Double Trouble Chocolate Truffles
3/4 cup unsalted butter
1 cup semi-sweet chocolate chips
1/2 cup unsweetened cocoa powder
1 can (300mL) sweetened condensed milk
1 Tablespoon vanilla extract
coating

In a medium saucepan over medium heat, melt the butter and chips, stirring until smooth. Stir in the cocoa. Turn heat to low and stir in the milk. Beat for about four minutes, until mixture is thick, shiny, and glossy. Remove from heat and stir in vanilla. Transfer mixture to a shallow bowl and refrigerate for at least two hours. Roll into balls, then roll into desired coating.

Coating options: sprinkles, sugar, icing sugar, colored sugar, coconut, cocoa, chopped nuts, chocolate chips, cookie crumbs, cracker/wafer crumbs, pretzel pieces, crushed candy canes, no coating.

For Christmas truffles: Use red and green colored sugar, or colored Christmas sprinkles, as well as coconut or icing sugar for snowballs, and crushed candy canes if desired. A drop of mint extract along with the vanilla may also be nice. 

Tuesday, December 10, 2013

M&M Ultimate Chocolate Cookies

This is a new cookie recipe my mother decided to try making for Christmas this year. Though they aren't particularly Christmas-themed cookies, they are a colorful addition to a Christmas cookie tray. They could be made more festive if only red and green candies are used (packages of those are available to buy - you don't need to sort through the colors yourself!). This cookies are very chocolaty, rich and soft and delicious. I myself am not a huge candy fan, but the candies soften in these cookies and don't make them crunchy. My mom made the cookies fairly small and got about four dozen of them, but they can be made larger and flatter if you wish. They can also be baked shorter or longer for chewier or crisper cookies, and chopped nuts may be added if you wish. The recipe comes from a magazine clipping.
M&M Ultimate Chocolate Cookies
1 cup (2 sticks) butter or hard margarine, softened
1 cup granulated (white) sugar
3/4 cup packed light brown sugar
2 large eggs
1 teaspoon vanilla extract
2 1/4 cups all-purpose (plain) flour
1/3 cup unsweetened cocoa powder
1 teaspoon baking powder
1/2 teaspoon salt
1 3/4 cup miniature candy coated chocolates 

Preheat oven to 350F. Grease or line cookie sheets.
In a large bowl, cream the butter and sugars together. Beat in the eggs and vanilla.
In a separate medium bowl, stir together the next four dry ingredients. Gradually add to the butter mixture. Stir in candies.
Drop dough by rounded half tablespoons two inches apart on prepared cookie sheets. Bake for 8-10 minutes, until just set - cookies will be soft. 

Thursday, November 21, 2013

Nerd Cupcakes

Here are some cupcakes I made for two friends of mine who share the same birthday. They are both nerds, and wouldn't be insulted if I said that, and they both wear similarly-styled, large, black-rimmed glasses. Therefore, these cupcakes are decorated with orange and blue Nerds candies, and glasses. To make the glasses, I first printed off the outlines of many of these glasses on a piece of paper. I placed a piece of waxed paper over this. Then I simply melted some semi-sweet chocolate chips, put them in a plastic bag, and piped the outlines of the glasses through the waxed paper. This could be done free-hand as well, as it isn't a very difficult shape to do. Some turned out better than others, but the form is really a sideways eight, an infinity sign, or two circles. I put these in the refrigerator briefly to harden, then peeled them off the paper. 

The cupcakes are a confetti mix, which my friend baked. The frosting is a new recipe I tried. I stepped away from my classic buttercream and tried a marshmallow frosting. This recipe I will share tomorrow. I piped it on the cupcakes using my large open star tip, which is really easy and makes one simple, pretty swirl. Then I sprinkled the candies over top, which tended to roll everywhere, except stick to the frosting! I stuck a pair of glasses in each. I really like how the fancy cupcake wrappers match the colors of the candies. 

Thursday, November 14, 2013

Marshmallow Reese Blondies

Marshmallow Reese Blondies
1/2 cup butter or hard margarine, softened
1/2 cup smooth peanut butter
1 cup packed light brown sugar
2 large eggs
1 teaspoon vanilla
2 teaspoons baking powder
1/2 teaspoon salt
1 1/2 cups all-purpose (plain) flour
1 cup semi-sweet chocolate chips
1 cup candy-coated chocolates (or peanut butter flavored)
2 cups miniature marshmallows

Preheat oven to 350F. Grease or line a 9x13 inch rectangular pan. 
In a large bowl, beat together the butter and peanut butter. Cream in the sugar. Beat in the eggs and vanilla. Sir in the baking powder and salt, and 1/2 cup of the flour. Stir in another 1/2 cup flour, then the last of the flour until well blended. Stir in the chips and candies. 
Press half of the batter evenly in prepared pan. Sprinkle evenly with marshmallows. Carefully drop the remaining batter over top and try to spread as evenly as possible. It's fine if there are a few gaps. Bake for about 25 minutes until golden. 
These are some pretty sweet, pretty flavorful delicious cookie-like squares. The peanut butter flavor is not strong, but could be stronger if peanut butter candies are used. The marshmallow filling could be omitted as well, for some yummy peanut butter candy cookie bars. Milk chocolate chips would probably work well too.