I LOVE chocolate mousse. It's definitely one of my all-time favorite desserts. I could (and have) eaten eight servings in one day. It's delicious. So I decided to take my basic chocolate mousse recipe and upscale it - create a trio of chocolate mousses; three different flavors, three different textures, three different temperatures, and three different garnishes. What a success! This is the perfect dessert for sharing if you are feeling generous, or if you're like me, you'll devour it all yourself.
For the frozen mocha chocolate
mousse with mocha drizzle:
2 Tablespoons coffee (any variety)
1 teaspoon unsweetened cocoa powder
2 teaspoons icing sugar
chopped toasted nuts
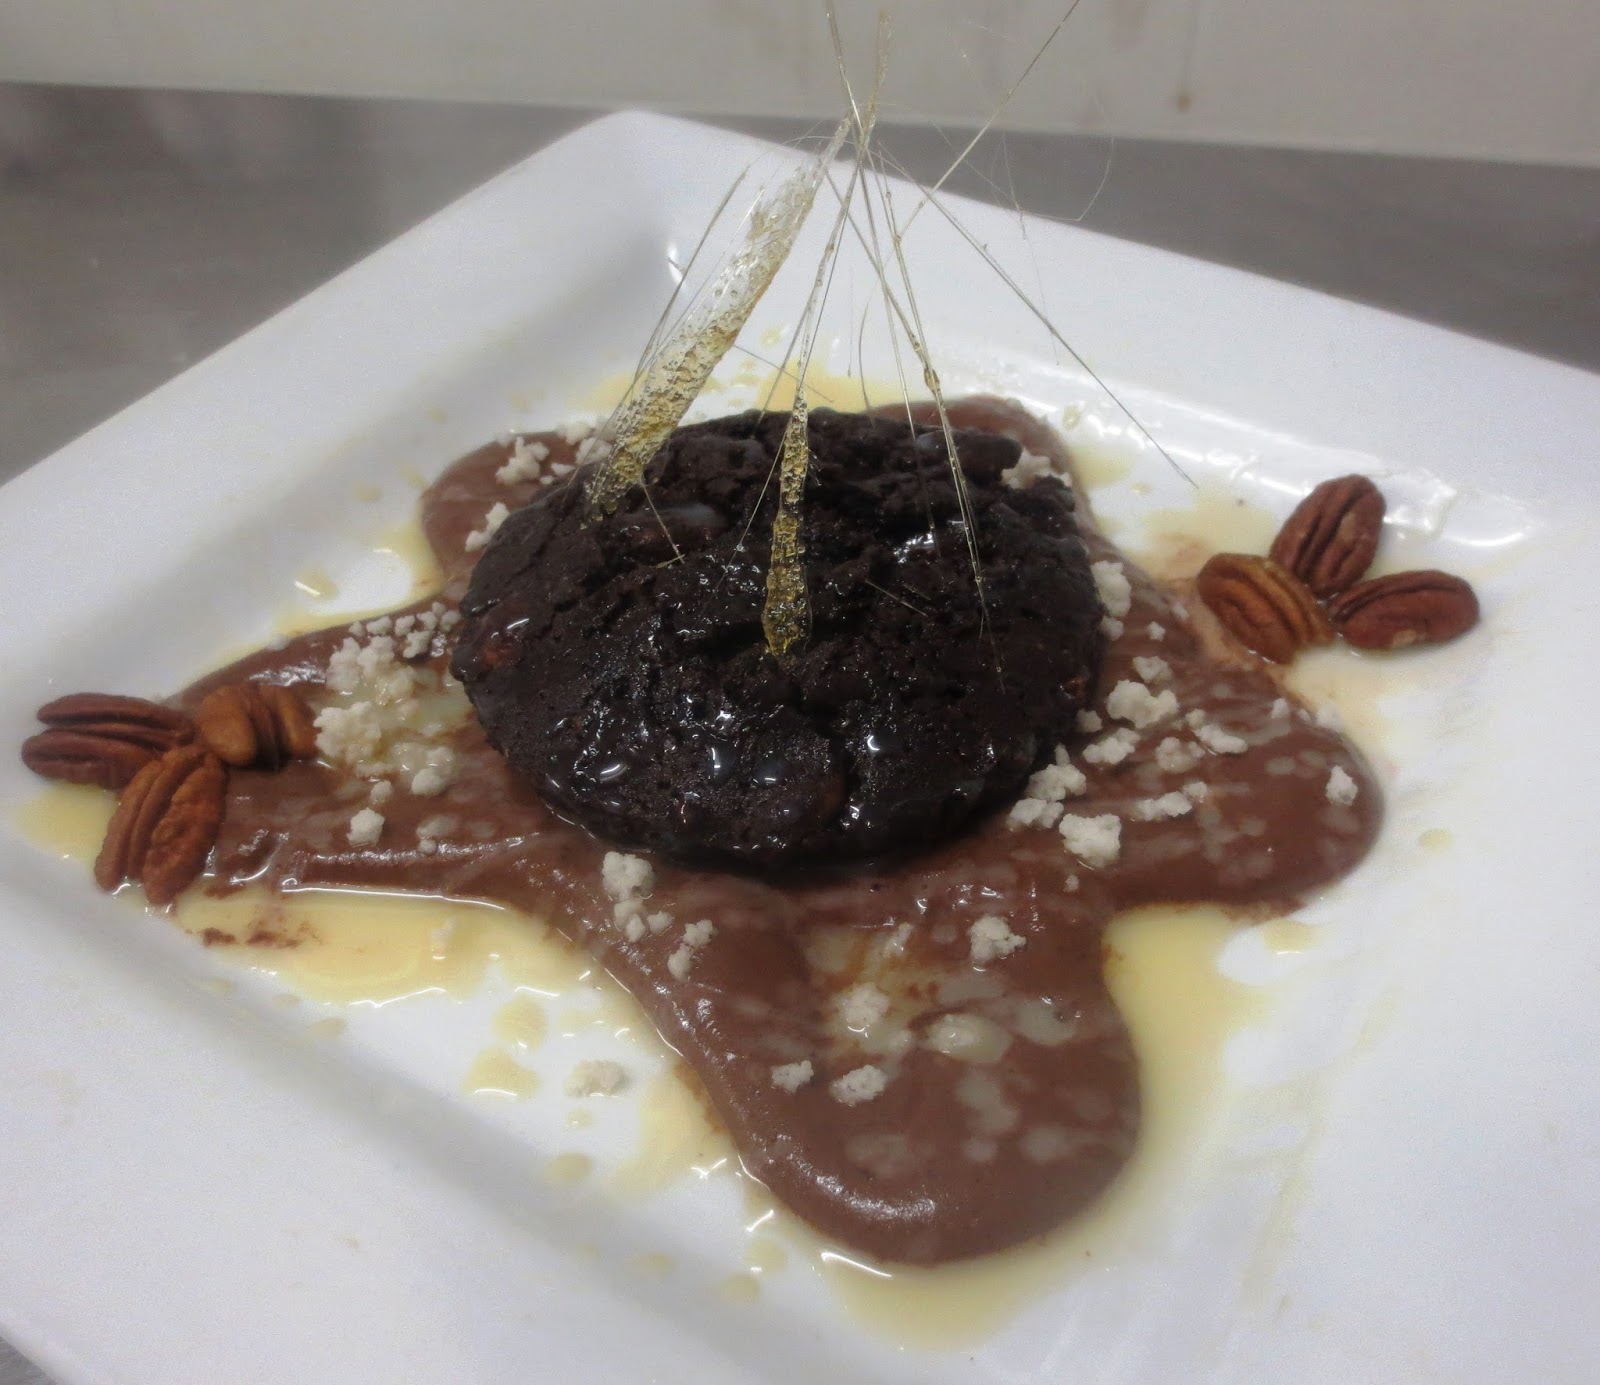
For the caramel chocolate mousse
with caramel filigree:
½ cup granulated (white) sugar
¼ cup water
For the hot chili chocolate mousse
soufflé with spiced cream quenelle:
½ teaspoon chili powder
Tablespoons whipped cream
¼ teaspoon ground cinnamon
For the frozen mocha chocolate
mousse: Whisk one teaspoon coffee into about 1/3 cup of the chocolate
mousse. Line a small dish or mold with plastic wrap and spread the mousse into
it. Freeze immediately for at least an hour.
For the mocha chocolate glaze, whisk together the remaining coffee,
cocoa, and sugar until smooth.
For the caramel chocolate mousse:
Heat the sugar and water over low heat, stirring often, until mixture
reaches 310°F. Using a fork or spoon, randomly drizzle some caramel onto a
steel work surface and once it hardens, immediately gather it up into a nest or
ball. Drizzle some caramel on the inside of a wine or martini glass and allow
to set.
For the hot chili chocolate
mousse soufflé: Whisk the chili powder into about ¼ cup of the chocolate
mousse. Spoon or pipe mixture into a small ramekin. Bake at 400°F for six
minutes until risen and outside is firm.
To serve: Decorate the plate with dots of leftover caramel and mocha drizzle. Drag a skewer through to create hearts.
Pipe the chocolate mousse into the martini glass, place the
caramel filigree on top, and place in the center of a rectangular plate.
Unmold the frozen chocolate mousse, place to the right of the mousse,
drizzle with glaze, and sprinkle with nuts.
Place a quenelle of whipped cream on top of the baked mousse soufflé,
then sprinkle with ground cinnamon. Place to the left on the plate.